
If you are interested in reading part 3, it is here: IKEA Kitchen Install Part Tres – Cabinet Install
Now, it’s time for the finishing touches – filler pieces, cover panels, doors (can we just do without those? :-p), drawers, handles, toe kicks, crown molding, oh my.
Fillers
First, the filler pieces. Originally, we were going to do a little less than 2 inches of filler on each side of the cabinets on the long wall until we realized the vent for the microwave (vents to the outside) needed to be within the 30 inch cabinet that is above the microwave. Uh oh – you will say that often during this process. So, we left no gap on one side of the cabinets (pantry side). Luckily, the wall was very level on that side – miracles do exist and the pantry fit snug against the wall with no gap. Hallelujah! And the clouds did part then.
We then had to leave about a 3 1/2 inch gap on the other side, however, which wasn’t ideal but it was what it worked out to be. It did help to keep the drawers on that side from hitting the window sill but we probably only really need a 2 inch gap for that. Oh well, it looks fine, I think. Nothing a little caulk won’t fix. Just kidding – that’s been my answer to everything on this project. You can use it too if it helps you sleep at night.
That side of the wall is very not level though so we read about this thing called scribing. It’s some nonsense you do with a compass. But, of course, we bought the jankiest compass because it was the only one Home Depot sold. I do not recommend using a janky compass – get a good one that locks in place. The one we got, kept moving as I was trying to draw the line.
This is how scribing works: You cut the filler panel down to be about an inch wider than the gap between the cabinet and wall. Then, you clamp (if you can, otherwise hold in place) this filler panel to the cabinet and make sure that the overlap of the filler panel and cabinet is the same at the top and the bottom (this will create a gap on the side that is against the wall on one end or the other). Finally, open the compass to the same width as the overlap. Keeping one side of the compass against the wall, you then draw a line onto the filler panel. Use a table saw to cut along the line. When you have a janky compass like ours, this line is not very reliable. Though it did work out ok for us – I just had to draw and redraw that line and we picked the darkest line because that meant I drew it more than once in that spot. :-p
This scribing thing is a blast guys – especially when the other person is breaking their back trying to hold the panel in place while you look completely incompetent with a janky compass. Note: explaining that the compass is janky doesn’t make you look any less incompetent – more like an incompetent person making excuses. We couldn’t clamp our panel in place because of the position of the cabinet to the wall. So, trying to hold the panel in place such that neither side moves (like when you breathe, for example) and you have to re-measure the overlap again and again is pretty comedic in an insane laughing out loud to yourself sort of way. The last thing the compass scriber wants to hear is, “Doh! It moved again!”. You both will look like a bunch of incompetent, grouchy, nut cases – save yourself.
Here’s what I would recommend doing instead of scribing if your wall is pretty straight. Find out the distance of the gap between the wall and cabinet at the top and the distance of the gap at the bottom and mark those two distances on the filler piece then get a straight edge and draw a line between them. Be sure to tape this area that you are about to cut – helps to keep the wood from splintering. Use a table saw to cut along that line. Use the precision blade if you have it (helps reduce splintering as well). It’s better to cut it wider than you need and then use a belt sander where needed to get it perfectly to size. This belt sander thing works wonders. Definitely buy a belt sander – do not try to sand by hand – trust me on this. Caulk will fill in any gaps if it’s not perfect. This is what we did on the other side instead of scribing and it worked out fine. Friends don’t let friends scribe. BTW, there’s no pictures of the scribing for a reason. :-p
Just a side note: I’ve never seen my husband look hotter than when he’s using a table saw. Wind blowing back his hair. Sand (i.e. particle board dust) blowing in his eyes. It’s almost like we are at the beach, but not quite. Something about a guy and his tools, right?
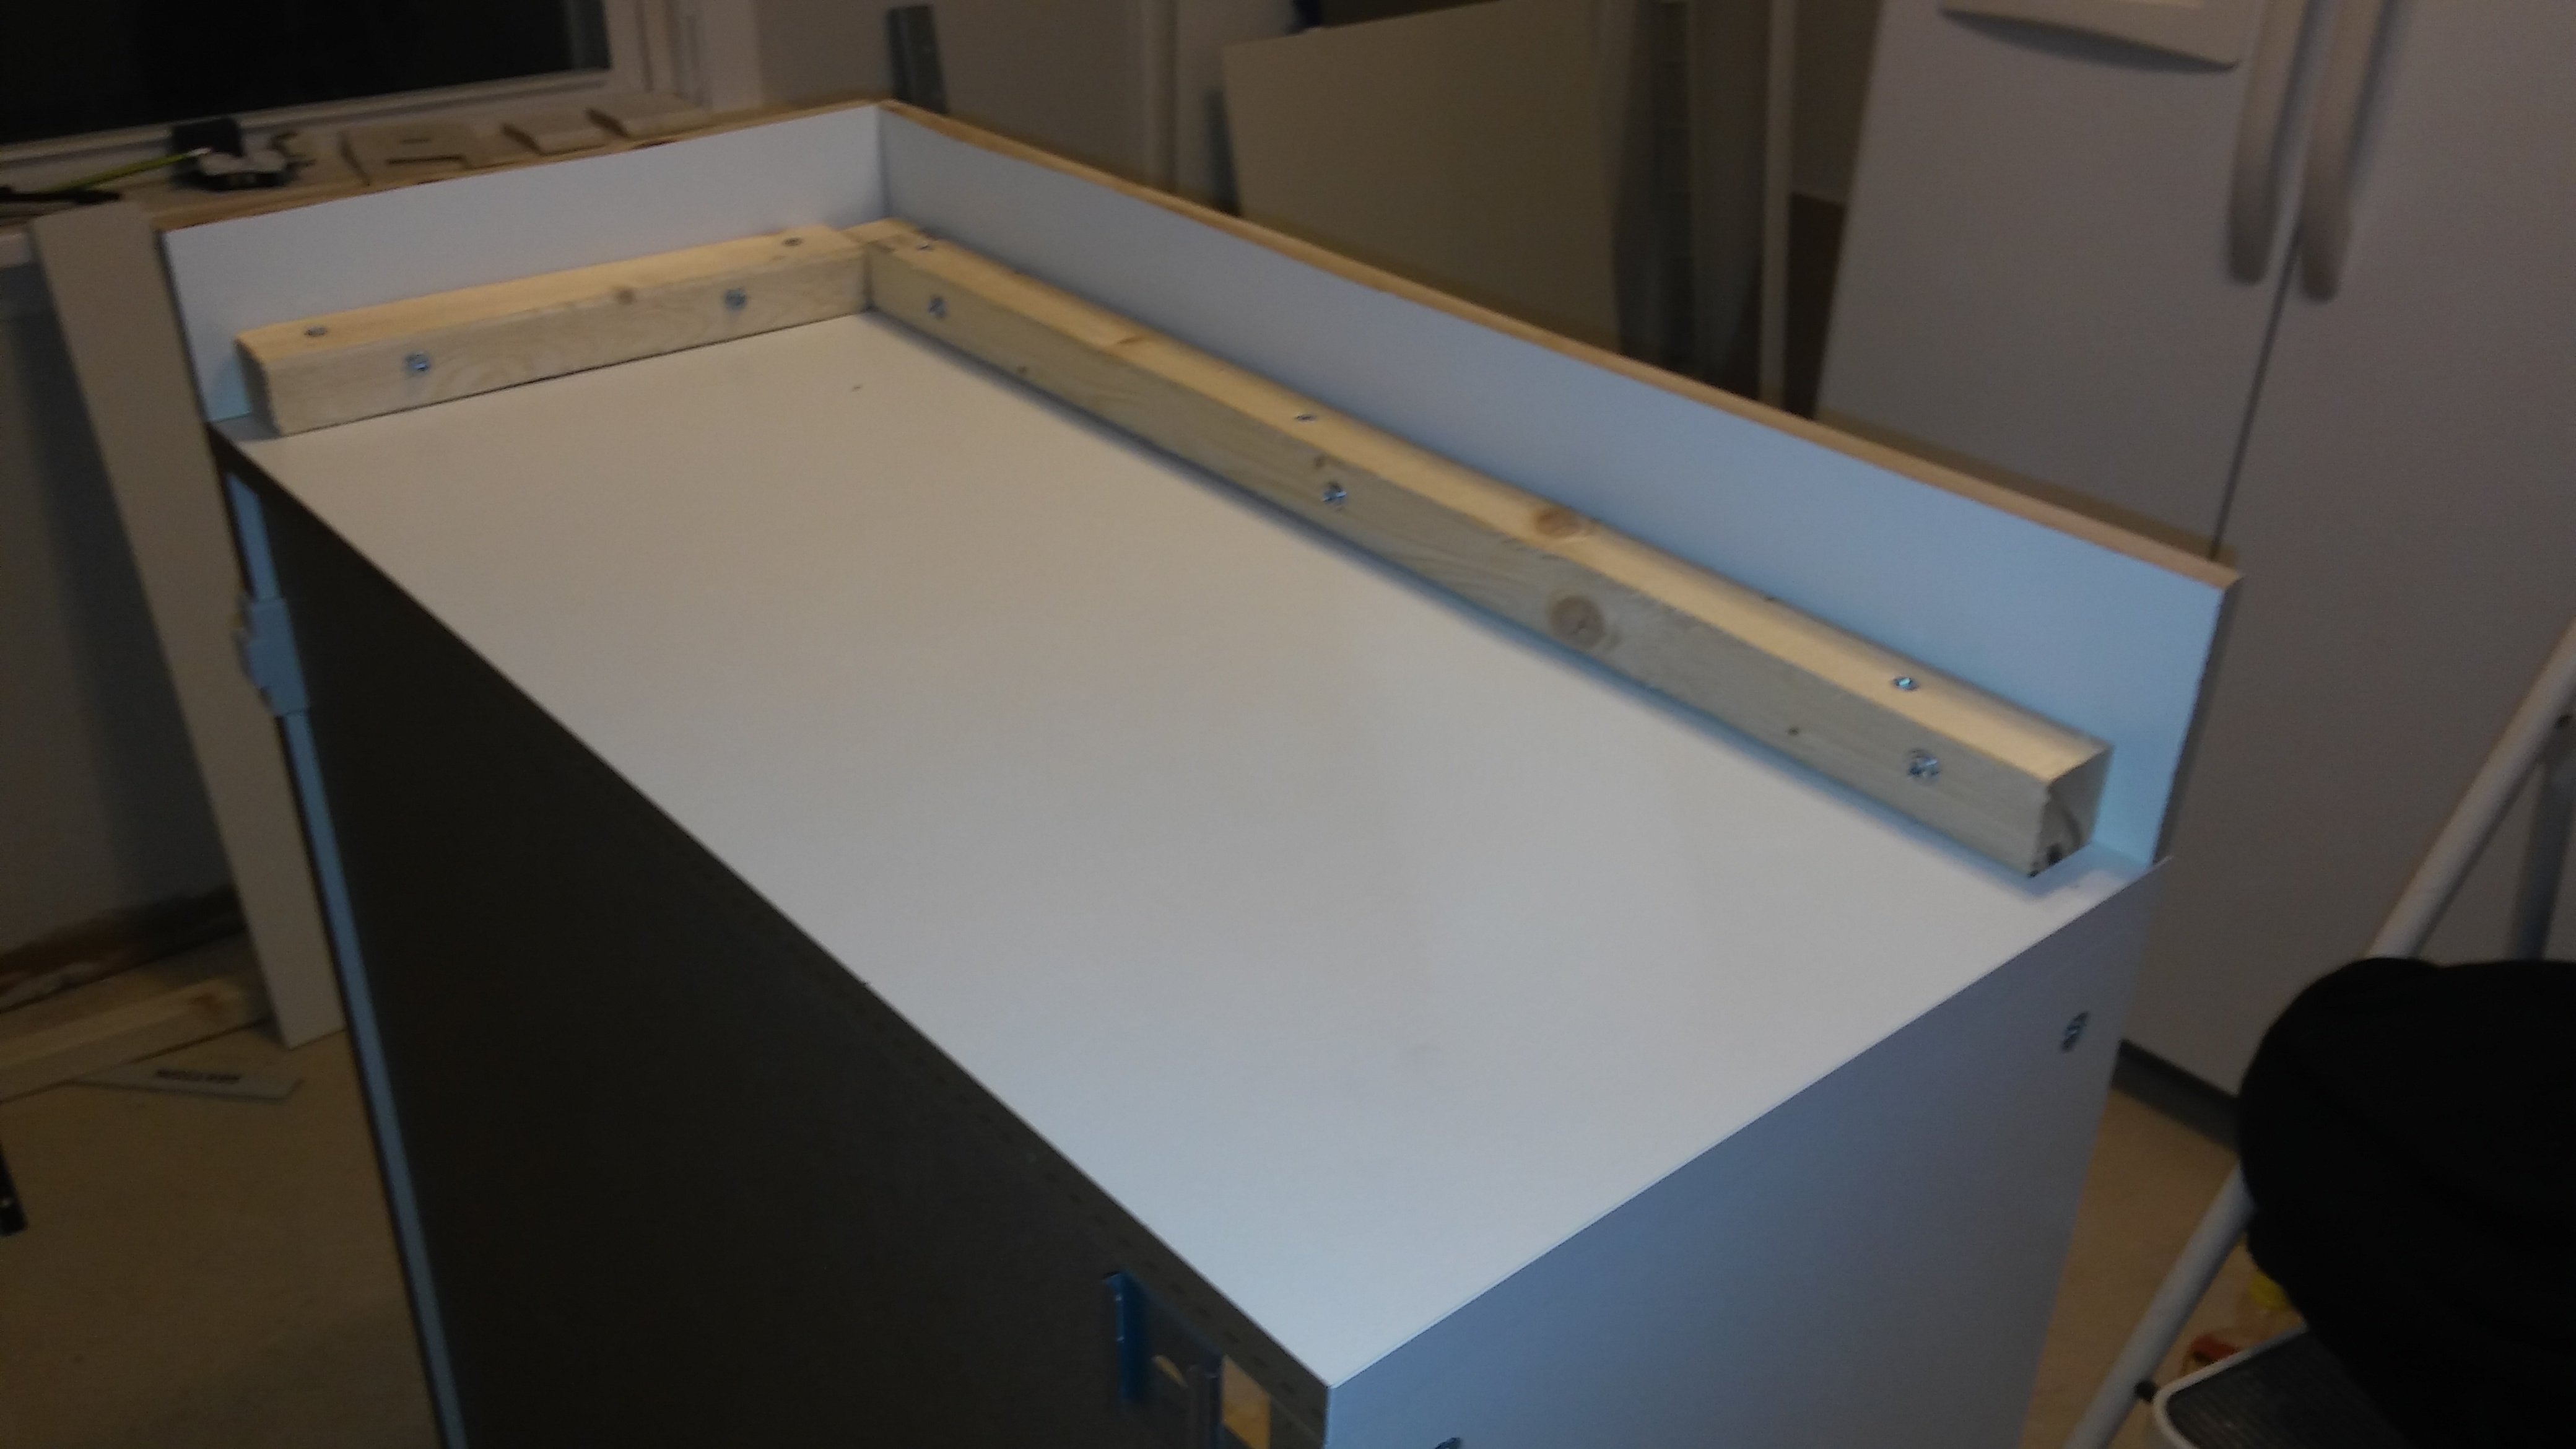
Next, we bought some 2×2’s to install the filler to. First, we screwed the 2×2’s to side of the cabinet, then we screwed the filler piece to the 2×2 (from behind so you can’t see the screws from the front). We used 2 inch screws for this. Drill pilot holes first, of course.


What it looks like from the top once the cabinet is installed (counter top will go on top of this):

This is what the final product looks like. It’s not caulked yet so it’s not perfect yet. :-p Pretty uneven wall, right? :-/

Here’s the filler on the upper cabinet (which we had to do TWICE because we got them mixed up and tried to use this one for the base cabinet – big woops!). It still needs to be caulked though:

On the short wall, we left only about an inch of space between the cabinet and the wall. We tried to put the cabinets directly against the wall so we could get out of making filler pieces, but the wall was not level so we scooted them over an inch. The filler pieces were so skinny that we had to cut down the 2×2 into .75x.75 and then, we actually screwed the filler panel to the .75x.75 first, then screwed the .75x.75 to the cabinet (because otherwise, there wouldn’t have been space to drill if we did the other way around). We used 1 inch screws.
The one problem we did have was that the .75 x.75 and the 2×2 weren’t completely straight so we did have to use shims in some spaces where we screwed, otherwise the filler piece would’ve been misshapen trying to conform to the misshapen 2×2.
Here’s a picture of the 1 inch filler with a shim in between the wood and the filler:

Cover Panels
First, cut the cover panel to size. Make sure to use tape when you are cutting any of the IKEA products to reduce splintering. Then, use clamps to clamp the cover panel in place. Drill pilot holes and screw it to the side of the cabinet as per the instruction manual.
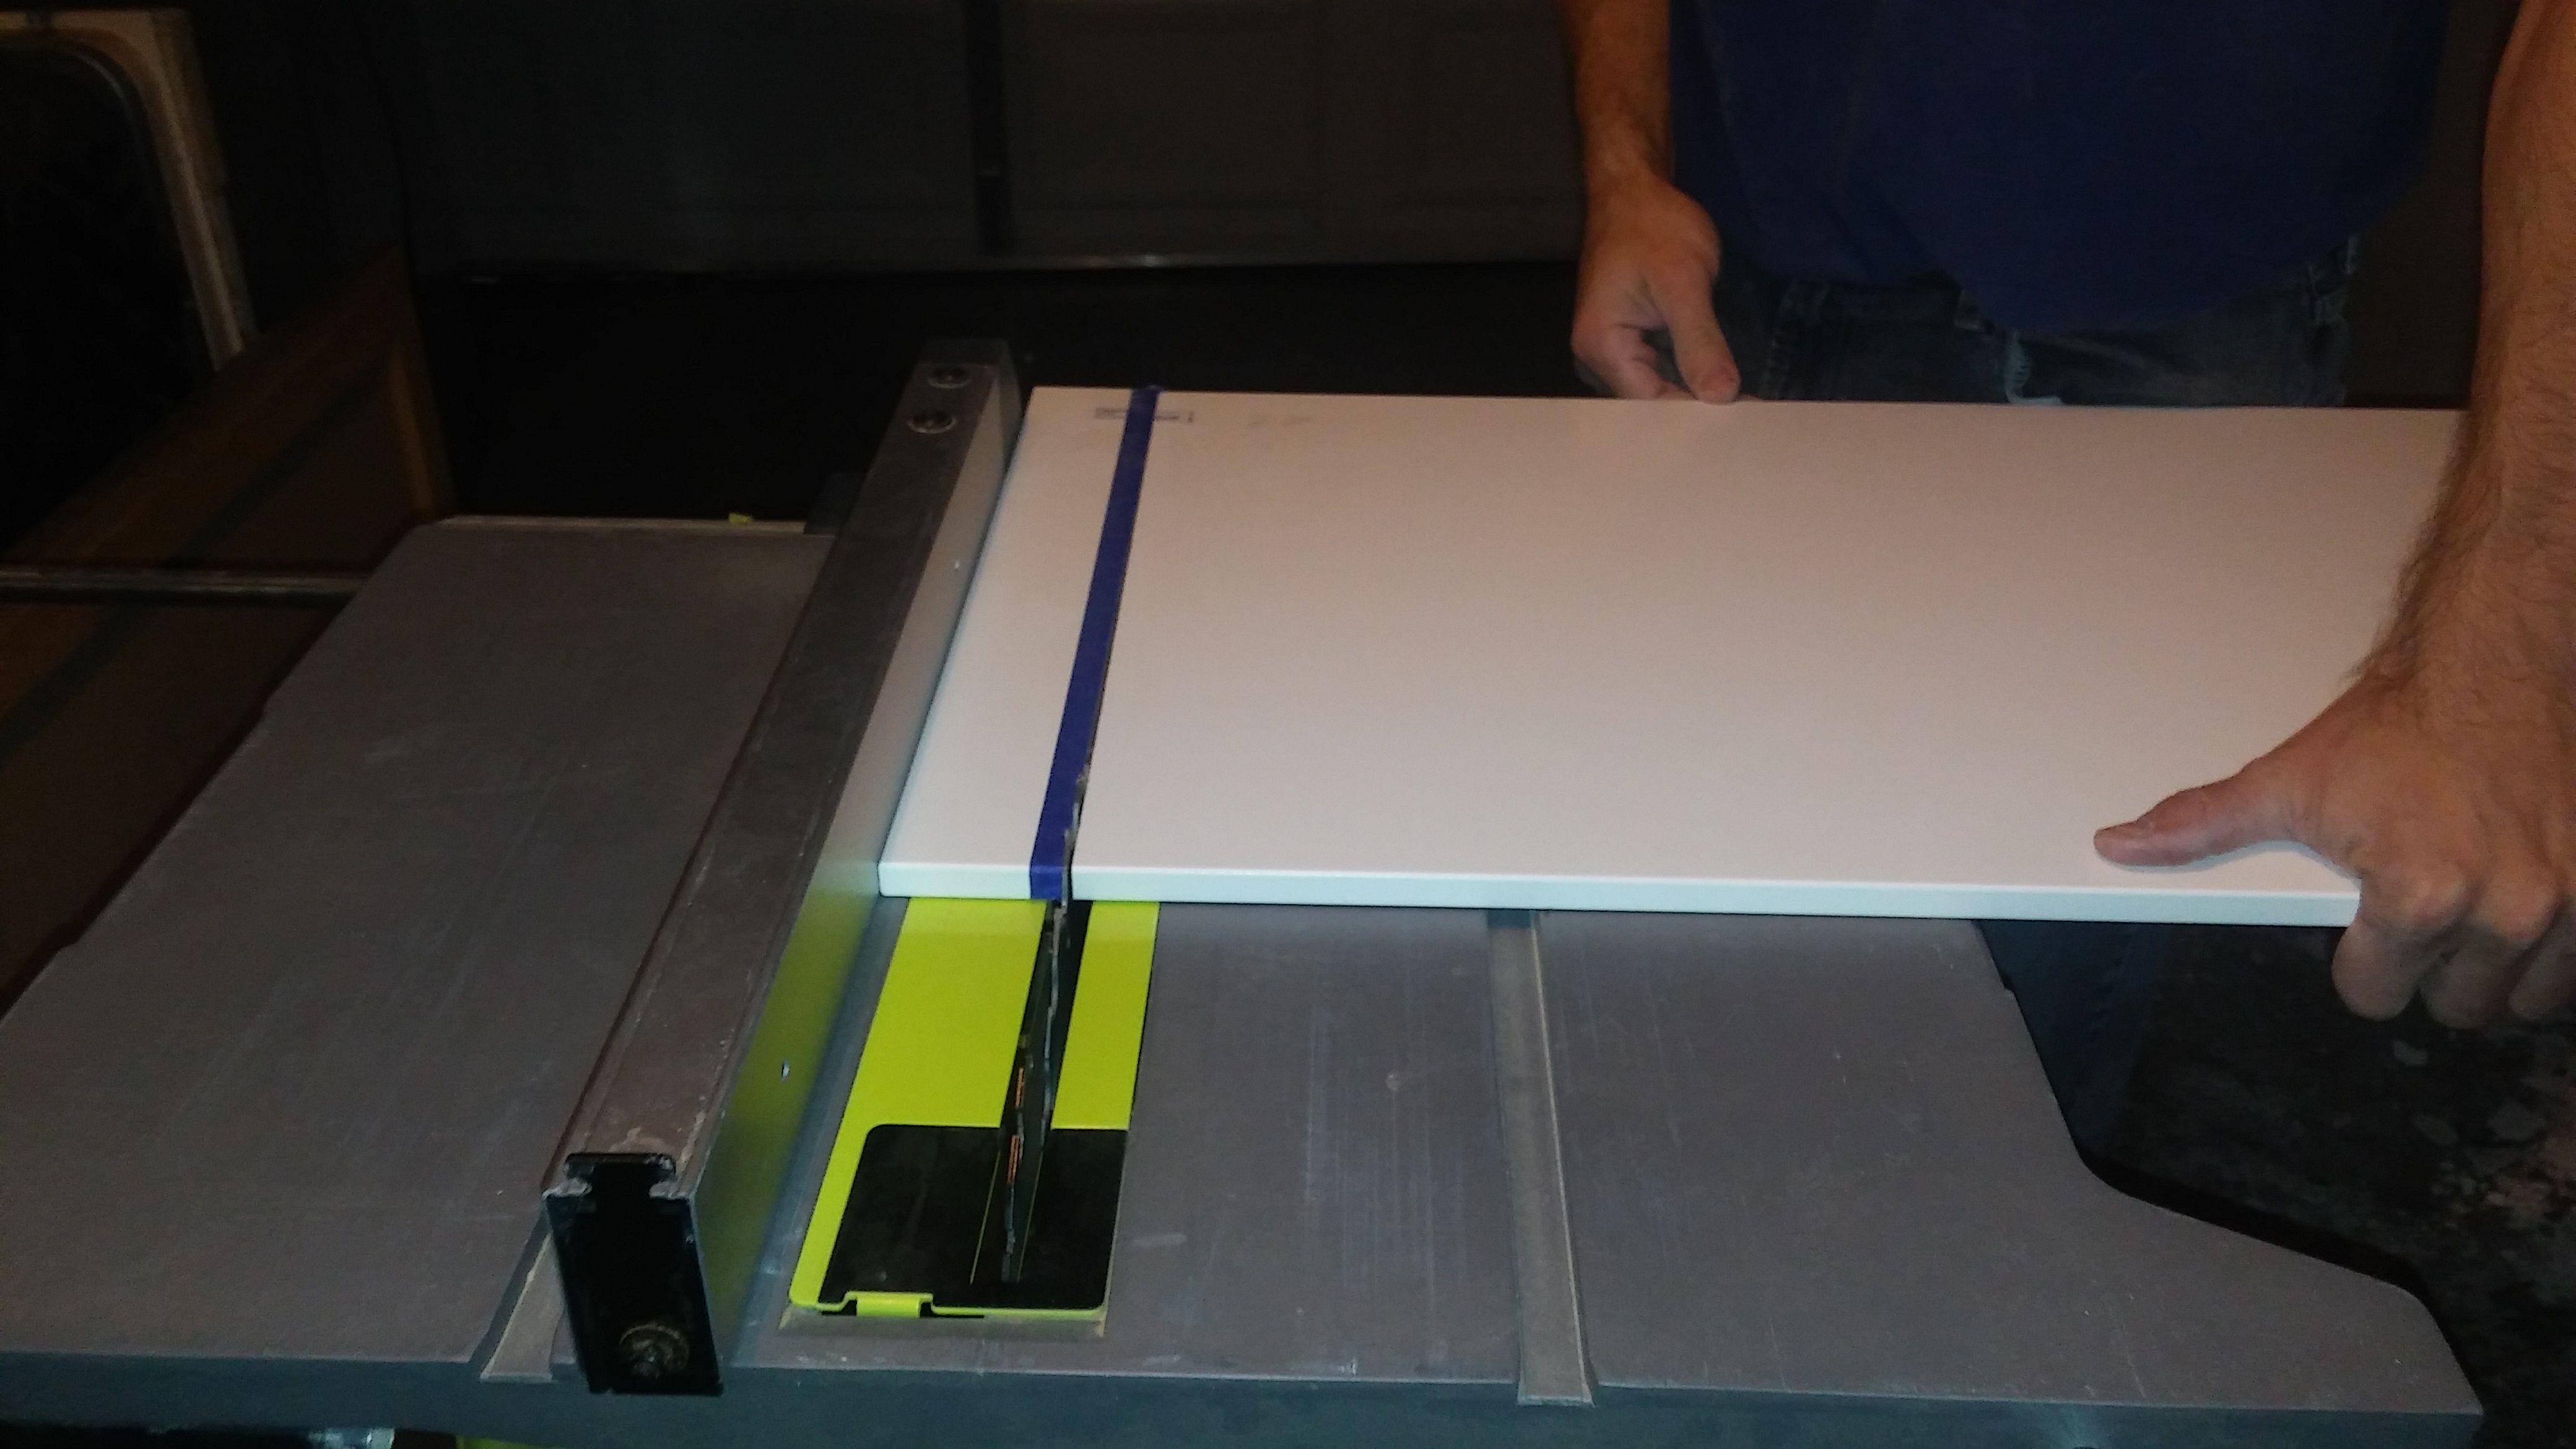
This picture is to demonstrate clamping – it’s obviously not the same cover panel cut above.

Doors
For the doors, first put the handles on. We purchased IKEA’s handle measuring tool (orange rectangle in picture). This is a must have. Decide about where you want your handles and mark the holes accordingly. Then, just put a level at the bottom and make sure the tool butts up to the level to insure it’s a the same spot for every door. Then, drill pilot holes and screws and pop the doors in place as per the instructions.


Toe Kicks
These are easy and self-explanatory. Just cut them down with a hack saw and clip them into place – this was the easiest thing we had to do. However, once we get the flooring in place, we might have to trim them again length-wise.
Drawers
These took for-ever. Give yourself enough time to do these. It’s simple but placement can be tricky (bottom drawer gets placed differently than top so the manual can throw you off if you look at the wrong pages at the wrong times) and just time-consuming to put together and install. Again, recommend getting the handles on those before installing.

Microwave Duct Work
To install the microwave was a bit of extra work because the IKEA cabinets are 15 inches deep and we bought a standard over the range microwave from Home Depot since they were having a sale around July 4th (weren’t we optimistic? we thought we were going to need it soon!). We had to buy a special attachment from IKEA for the microwave which we forgot to get in the original order. I don’t mind making extra trips to IKEA though – love that place. 😉 And my husband had to build around it with some wood which we cut to size in order to make a frame to attach the frame of the microwave to. You can see it in the picture below. The white horizontal piece on the bottom is the piece that IKEA gives you, but we added the wood on the sides on top in order attach the microwave frame.
Here’s the duct work my husband created because the microwave vents to the outside. I suppose we could’ve also just had it vent out the front of the microwave, but this venting to outside was already there for the oven hood that was here and we didn’t want to waste that functionality.

Crown Molding (TBD)
We still have to put our little extra skinny strip of crown molding at the top of the cabinets. I’m sure that’ll be another adventure. Will update when we get that done. UPDATE: we decided not to do the crown molding on top. We did add a strip above the sink because the under cabinet light was blinding. Above the cabinets, there’s just a little gap between the cabinets and the ceiling. We determined it actually looks fine.. You can judge for yourself in the final pictures below.
Counter Top
We went with Quartz in a light gray color. Luckily, we didn’t pick granite because the Home Depot countertop installers said they won’t do granite on IKEA cabinets since granite is heavier.
Interim pictures of cabinets:


 Final pictures of the finished kitchen (woohoo – finally!):


For some before and after pictures, see this post:
Read on for the rest of the install:
IKEA Kitchen Install Part Uno – Planning Design
IKEA Kitchen Install Part Dos – Cabinet Assembly
IKEA Kitchen Install Part Tres – Cabinet Install
IKEA Kitchen Install Parto Quatro – Finishing Touches
Looks Amazing! Thanks for sharing your progress! So helpful!
Thank you for sharing your experience! Did you install the cover panels before the countertops or after? Do you have any suggestions on that?
We only had one endcap for the bottom cabinets and I’m pretty sure we put it on after the counters were installed. If we put it on before, then my husband is saying he would’ve made it a tiny bit shorter than the cabinet so as not to interfere with the counter top placement.